Your insurance adjuster cannot approve what they cannot verify. For a water damage insurance claim, documentation is not just helpful — it is the evidence that determines whether your claim is approved and for how much.
Many homeowners lose thousands of dollars in legitimate coverage not because their claim was invalid, but because damage was cleaned up before it was documented, items were discarded before the adjuster saw them, or the scope of initial damage could not be proven after the fact.
This guide walks you through exactly what to capture, when, and why — so your claim has the strongest possible foundation from the first hour.
Key Takeaways
- Document first, clean up second — the state of your home when you discovered the damage is what your claim needs to show, and that evidence is gone once cleanup begins.
- Start with a narrated video walkthrough of every affected area, then take still photos from multiple angles, and check that your phone is timestamping the files.
- Create a written property inventory of damaged items and a log of every action you took and when — insurers can reduce payouts if you can’t show prompt mitigation.
- Don’t throw anything away until the adjuster has reviewed it, and keep all professional restoration documentation, including moisture readings and the final clearance report.
- Follow up with your insurer in writing after the initial call so every communication has a timestamped record.
Core Rule for Your Insurance Claim: Document First, Clean Up Second
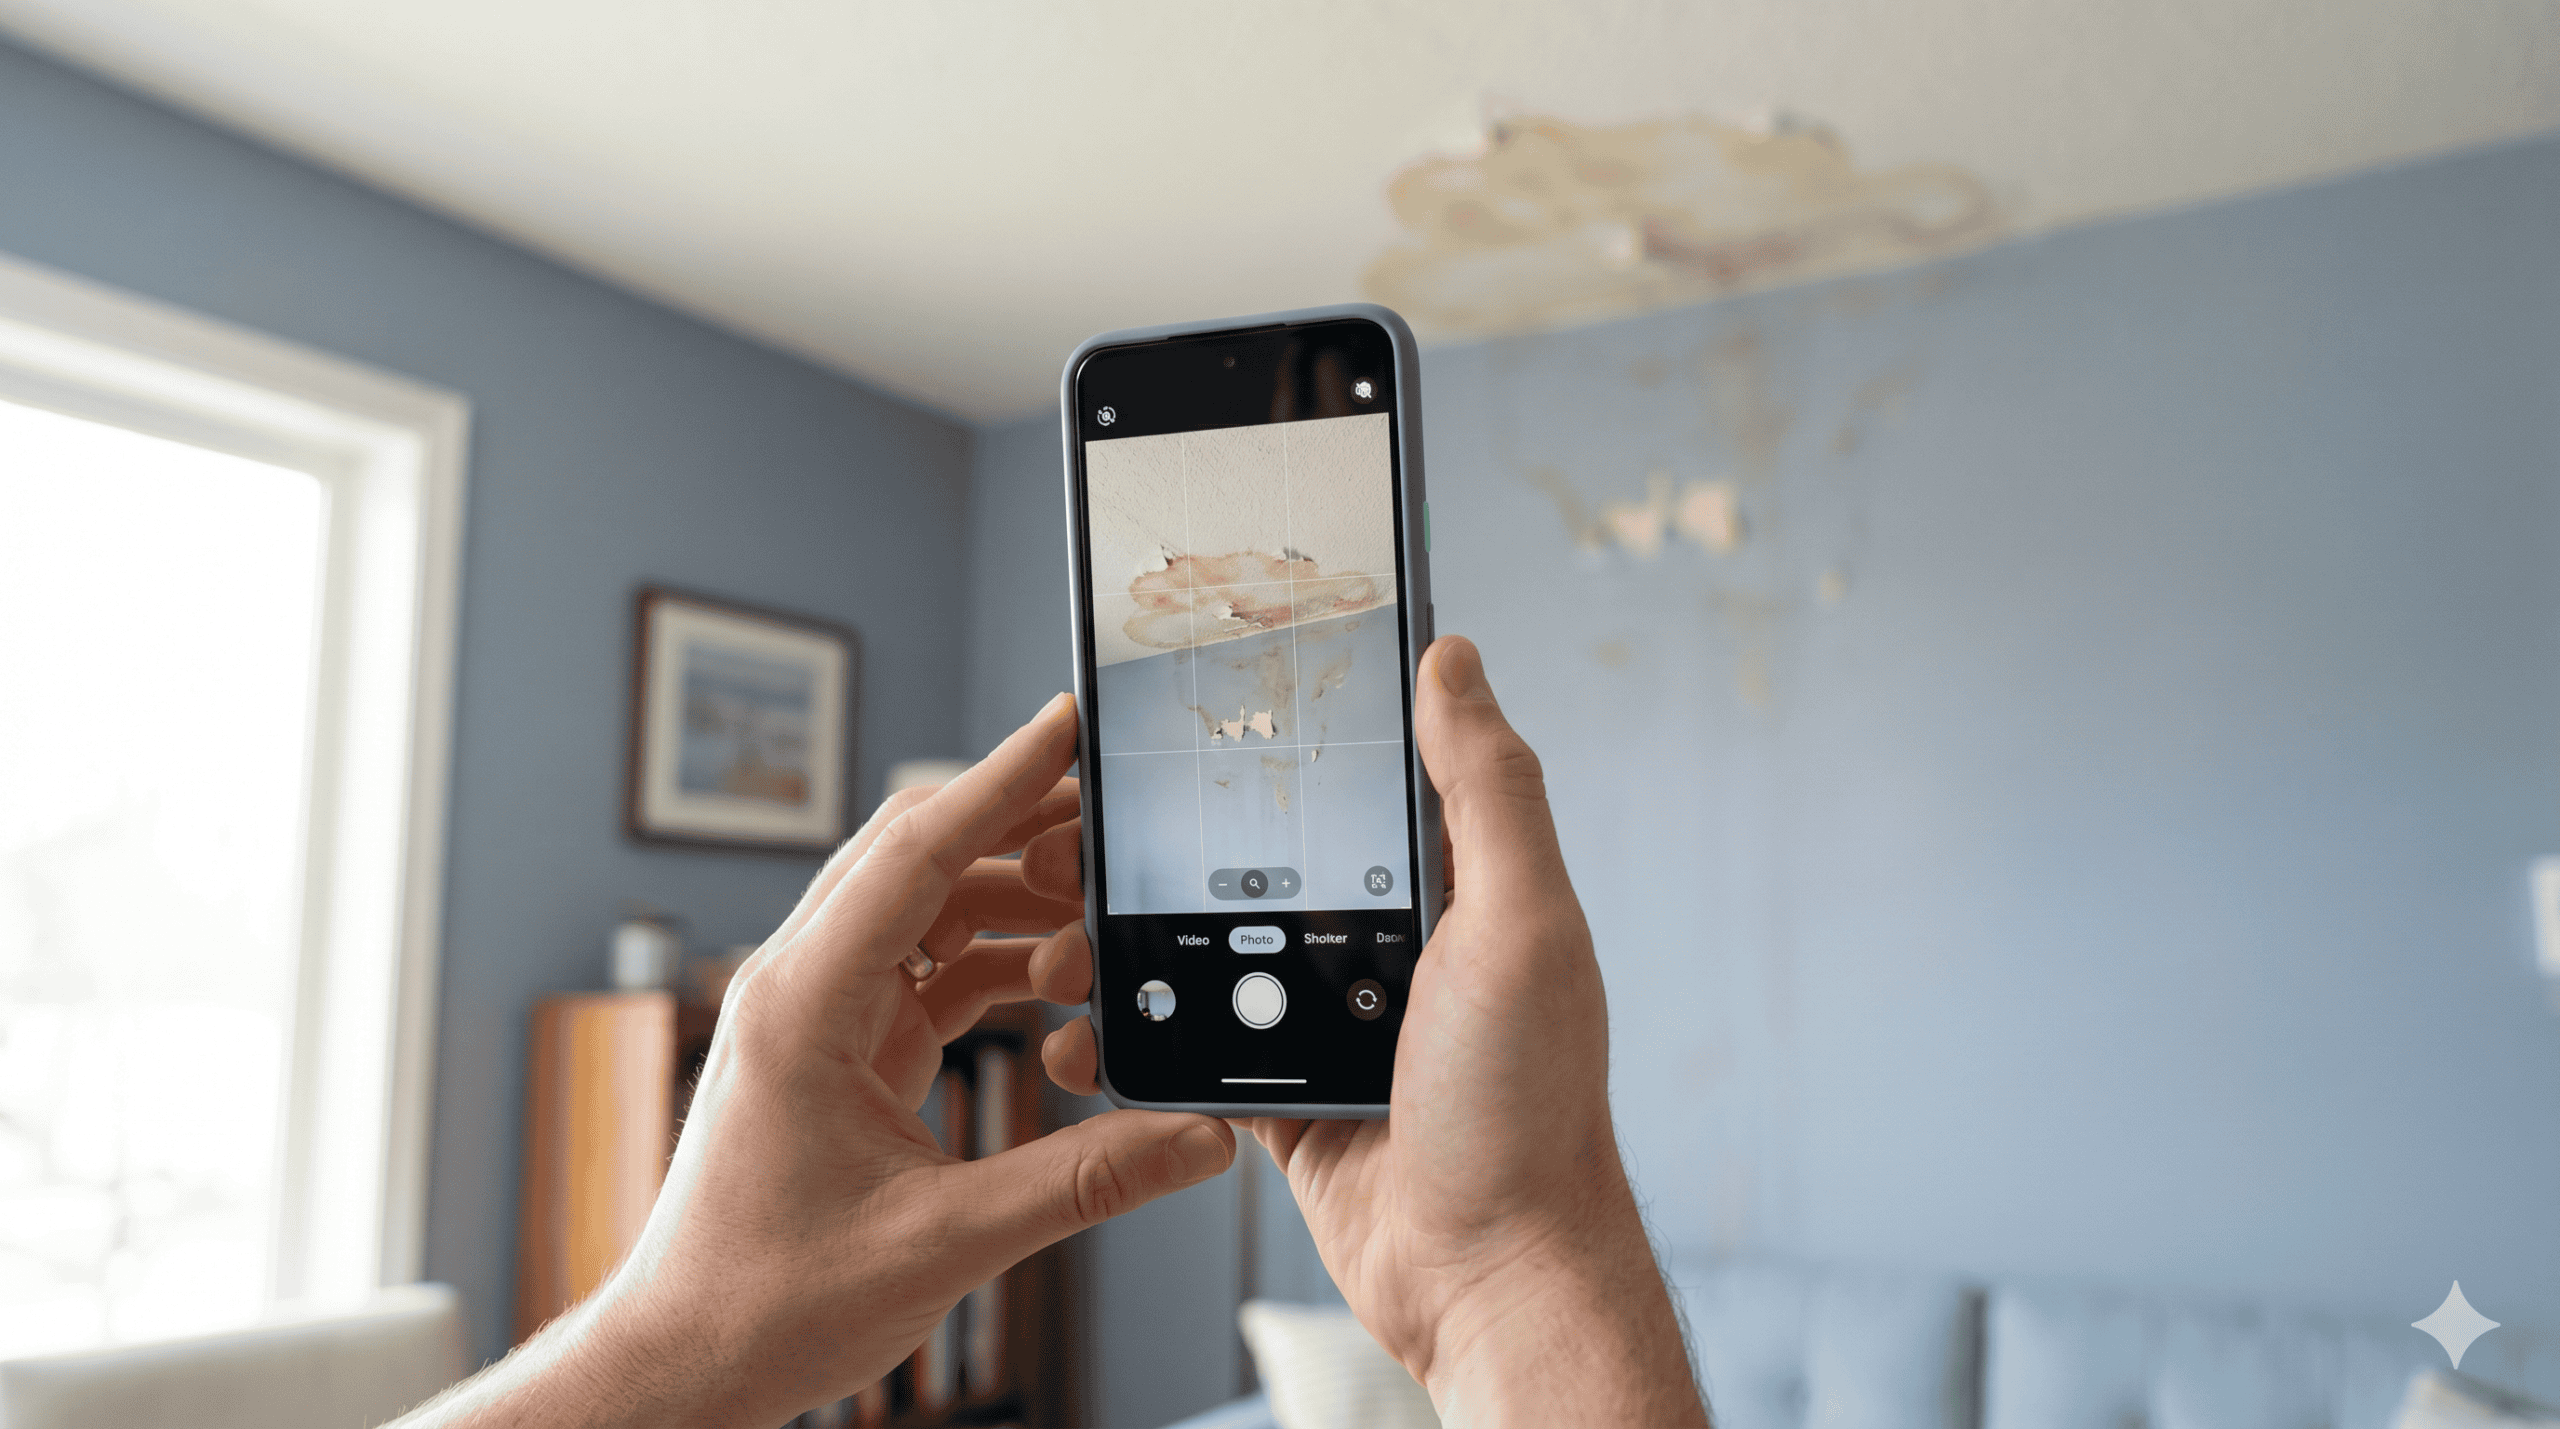
Before you move a single piece of furniture, mop a single puddle, or call a plumber — take out your phone and start recording. The state of your home at the moment you discovered the damage is the state your insurance claim needs to show. Once you start cleaning, that evidence is gone.
This feels counterintuitive when water is actively damaging your home. But a few minutes of documentation before you act will protect your claim far more than those few minutes of early cleanup would save in damage.
Step 1: Video Walkthrough of the Entire Affected Area
Start with a continuous video. Walk slowly through every affected room and space, recording:
- Where water is visibly standing, pooling, or streaming
- Water level marks on walls or furniture (if applicable — natural floodlines are extremely useful for adjusters)
- The point of origin — the pipe, appliance, or fixture that failed, if visible
- Every wall, ceiling, and floor surface showing water damage
- All furniture, electronics, appliances, and personal property that were in or near the water
Speak during your video. Say the date, time, your name, and address at the start. As you walk, narrate what you’re seeing: “This is the master bathroom — the supply line under the sink burst. Water has spread across the floor and into the hallway. There’s standing water approximately half an inch deep across roughly 200 square feet.”
Narrated video with visible damage is the most complete form of initial documentation. It creates a record that photographs alone cannot match.
Step 2: Still Photographs from Multiple Angles
After the video, take still photos of:
- Each affected room from the doorway (establishing the full scope)
- Close-up shots of the damage source (the broken pipe, cracked fitting, failed appliance)
- The floor, walls, and ceiling in each room
- Water stains, tide marks, or damage patterns on walls (these show how high the water rose)
- Any visible mold, discoloration, or structural damage
- Damaged personal property items — furniture, electronics, appliances, clothing, documents
Check that your phone is applying a timestamp to the photos. On most smartphones, the metadata in the photo file records the exact time and date automatically.
Step 3: Create a Written Property Inventory
For any personal property damaged or destroyed, create a written list as soon as possible while details are fresh. For each item:
- Description and approximate age
- Estimated original purchase price
- Approximate current replacement cost
- Where it was located when damaged
Include everything: furniture, rugs, electronics, appliances, clothing, tools, books, documents. Small items add up. A $100 printer, a $200 rug, and $300 in books quickly become $600 of verifiable property damage. Adjusters need a documented inventory to include personal property in your claim.
Step 4: Preserve Damaged Items Until the Adjuster Confirms
Do not throw anything away. Adjuster review — either in person or via photo — needs to happen before any damaged material is discarded.
This is especially important for:
- Damaged flooring and carpet removed during restoration
- Pieces of drywall removed by the restoration crew
- Damaged appliances or electronics
- Ruined personal property
Your restoration company will often photograph removed materials as part of their scope documentation. Ask them to do so if they don’t do it automatically.
Step 5: Document Every Action Taken and When
Create a written log of your response. Record:
- The date and time you discovered the damage
- What you did first (shutoff location, when power was turned off)
- When you called for restoration services
- When the restoration crew arrived
- What work was performed on which dates
This timeline demonstrates to your insurer that you took immediate, reasonable steps to mitigate the damage — which is a policy requirement in virtually every homeowners policy. Insurers can reduce claim payouts if they determine you failed to take reasonable mitigation steps.
Step 6: Keep All Professional Restoration Documentation
A professional restoration company produces documentation throughout the drying process that is essential to your insurance claim:
- Initial moisture assessment report: Baseline moisture readings in every affected material — walls, floors, ceilings — measured with penetrative moisture meters and thermal imaging
- Equipment placement records: What dehumidifiers and air movers were deployed and where
- Daily psychrometric logs: Temperature, relative humidity, and specific humidity readings taken throughout the drying cycle, tracked against drying targets
- Final clearance report: Confirmation that all materials have dried to within normal ranges
- Formal scope of work: An itemized description of everything that was done, why, and the industry-standard basis for each decision
This documentation is what insurance adjusters look for when reviewing a water damage claim. It proves that the damage was real, that it was treated according to professional standards, and that the scope of work was justified.
Ask your restoration crew for copies of all documentation before they close out the job.
Step 7: Communicate With Your Insurer in Writing After the Initial Call
After your initial claim call, follow up in writing — email is fine. This creates a timestamped record of every communication. When an adjuster gives you an instruction (“send photos to this email”), confirm it in writing. When a decision is made about coverage, ask for written confirmation.
If a claim decision is made that you believe is incorrect, you have the right to dispute it — and a written record of every exchange makes that process significantly cleaner.
Frequently Asked Questions
What if I started cleanup before documenting — is my claim ruined?
Not necessarily. Document whatever visible damage remains. The restoration company’s initial moisture assessment and scope of work can help establish the scope of original damage even if photos weren’t taken before cleanup began. The restoration documentation often carries more weight with adjusters than homeowner photos anyway. Start documenting now, even if it’s late.
Does the insurance company send an adjuster to my home in person?
For significant claims, yes — an in-person adjuster visit is common. For smaller claims, many insurers now conduct virtual assessments using photos and video you submit. In either case, a well-documented photo and video record works in your favor.
Should I contact a public adjuster?
A public adjuster is a licensed professional who advocates for policyholders in insurance claims — not for the insurer. If your claim is large (over $15,000), complex, or if you believe your insurer’s initial assessment underpays the damage, a public adjuster can help. They typically charge 10–15% of the final claim settlement.
How long should I keep all claim documentation?
Keep all photos, receipts, restoration reports, and written communications for at least 3 years from the date the claim is closed. Some disputes can arise later — particularly around mold or structural issues that weren’t apparent at the time.